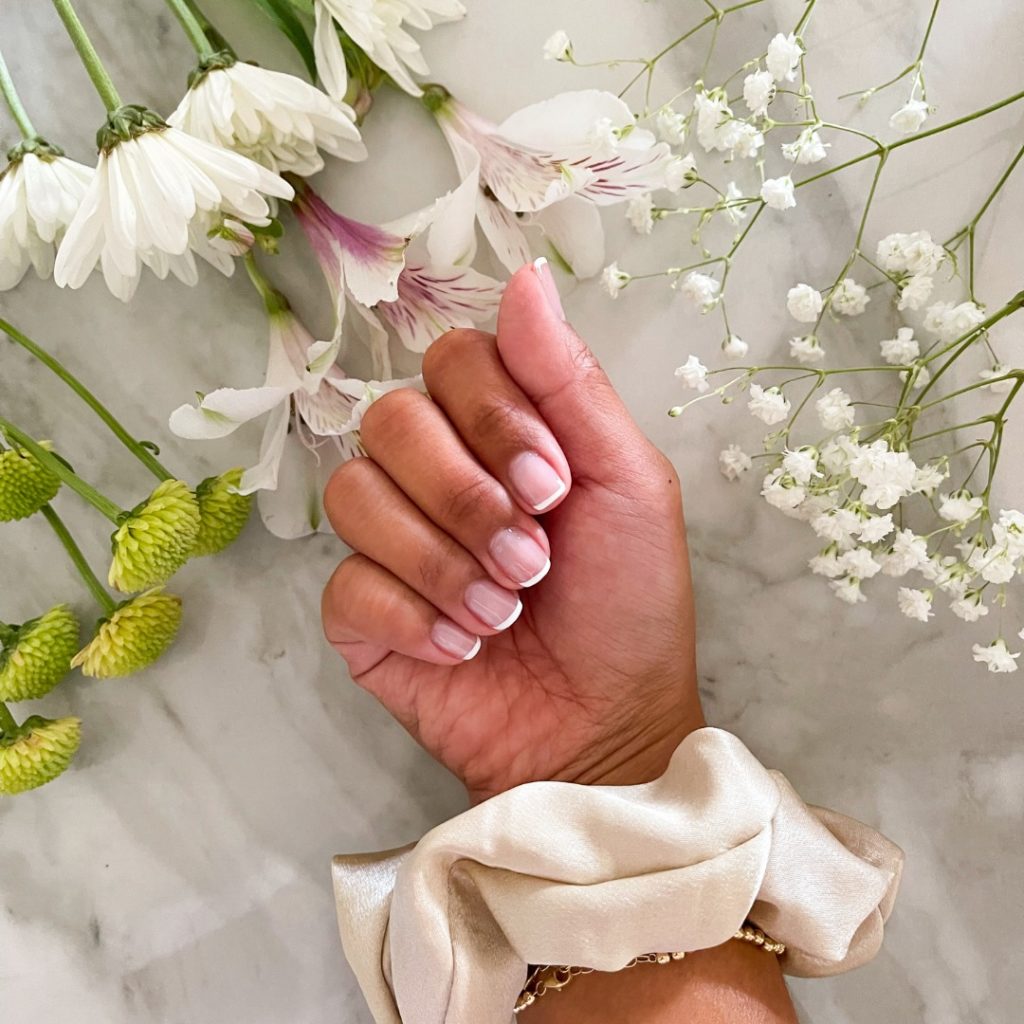
I have always been interested in nails. I remember my first plastic “press on nails” set as a kid which consisted of poor quality plastic nails with double sided tape.
Press ons have really changed over the years and I have spent years and years doing my own shellac and occasionally getting it done at the salon. One of my favourite styles is the classic French manicure. I have tried this several times myself with gel polish and I can never get it as nice as the press on designs I see at the drugstore or when I get my nails done at the salon.
I recently purchased a set on a whim at my local Shoppers Drug Mart. This was my first mistake. I did no research and picked this set up without even knowing what I was looking for. Also, it wasn’t on sale.
I purchased the Helios set at Shoppers and I cannot say I would recommend these at all. It came with 25 nails and most of them were so wide they were more size-appropriate for my toes. I didn’t like how there were only 2 pinkie nails so if one popped off you were out of luck.
I applied the press on set, prepping my nails like I do for shellac (buff and acetone, also don’t forget to take care of your cuticles too). Within a few hours, one nail popped off and in the next couple of days 3 more popped off. I loved the look but I was unimpressed with this performance of these nails and the glue.
This anecdote is just to say, do your research before trying your own press on nails at home. I think that it is less about the quality of the nails itself but more about the technique in application. After a few times of trial and error I found the following tips super helpful:
1. Get the right size
It is so important to select the correct size for your nail. This may take some time especially if you’re a beginner. Take your time and make sure the size is correct before gluing the nail down. If you’re between sizes try the smaller one or file down the sides of a slightly larger nail. Do not go beyond one that is slightly smaller or larger than your nail or it will just be uncomfortable.
2. Prep your nails
Like shellac, the preparation and priming of your nail is vital to longevity when it comes to press-ons. Make sure you are buffing your nail and removing the excess oils (use a dehydrator much like when you are prepping your nails for shellac). Also make sure you can get the surface of your nail bed as smooth as possible. Make sure you are also pushing your cuticles back so you have a nice clean surface to apply your nail on.
3. Get some good lighting
This can make or break your nail prep and application. I tried applying my nails late at night in a poorly lit area and the next day I was able to spot all fo the imperfections which is certainly not ideal.
4. Do your research
Try not to purchase your nail set on a whim at the drugstore. Do some research on different brands and glue prior to making the purchase, this way you don’t have to worry about buyer’s remorse or getting a set with a bunch of wide nails that you can’t use.
There are tons of resources including youtube videos you can watch to see what brand or style will work best for you. I ultimately purchase a bunch of nails in bulk on Amazon and I find it, coupled with the glue I used, it is a pretty sold product!
5. Get some good glue
You can totally utilize the glue that comes in the nail set when you make your purchase but I recommend purchasing some separate nail glue if you’re planning on doing this more than once and you can use the small bottle as a travel one. I did some research and found this one at Sallys that I absolutely love. It makes the application a lot easier as well. I made the mistake of purchasing glue that came in what resembled a nail polish bottle with a brush and it just did not work very well. I find the best method is to be a bit more generous than you’d regularly expect. This way, you can prolong the adhesion and make the most of your press ons.
Hopefully these tips are helpful, just trying help you avoid the mistakes I made during my trial and error. Enjoy playing with your press on nails!

